Debian 12 and HiRes audio
Besides the small file size I never was a fan of MP3 audio files. MP3s are fine when listening to them via bluetooth earphones on your phone, but even tracks encoded with maximal quality sound bad when listening to them via a good headphone. So, I started very early ditching MP3s in favour of flac to archive my CDs in order to maintain the original CD quality (HiFi). Today you can even have “better-than-CD” sound quality, usually referred to as “HiRes”. Let me state that I don’t know if my hardware equipment or my old ears are capable of getting the difference between “CD quality” and “HiRes”. Nevertheless, I’d like to think so and give it a try anyway. :-)
But what actually is the difference between “CD quality” and “HiRes”? A CD usually has Bit depth of 16 and a sampling rate of 44.1 kHz. This basically means that the analog audio signal is being digitally reconstructed using a resolution of 16 Bit (= 65.536) and getting 44100 samples per second of that analog signal. Increasing both values (or just one of them) will result in better sound quality. “HiRes” audio files are usually encoded with 24 Bit and sampling rates of 48 kHz or 96 kHz. To benefit from the better sound quality you will also need a “HiRes” capable DAC (digital-analog-converter) - and of course a very good sound system.
Hardware
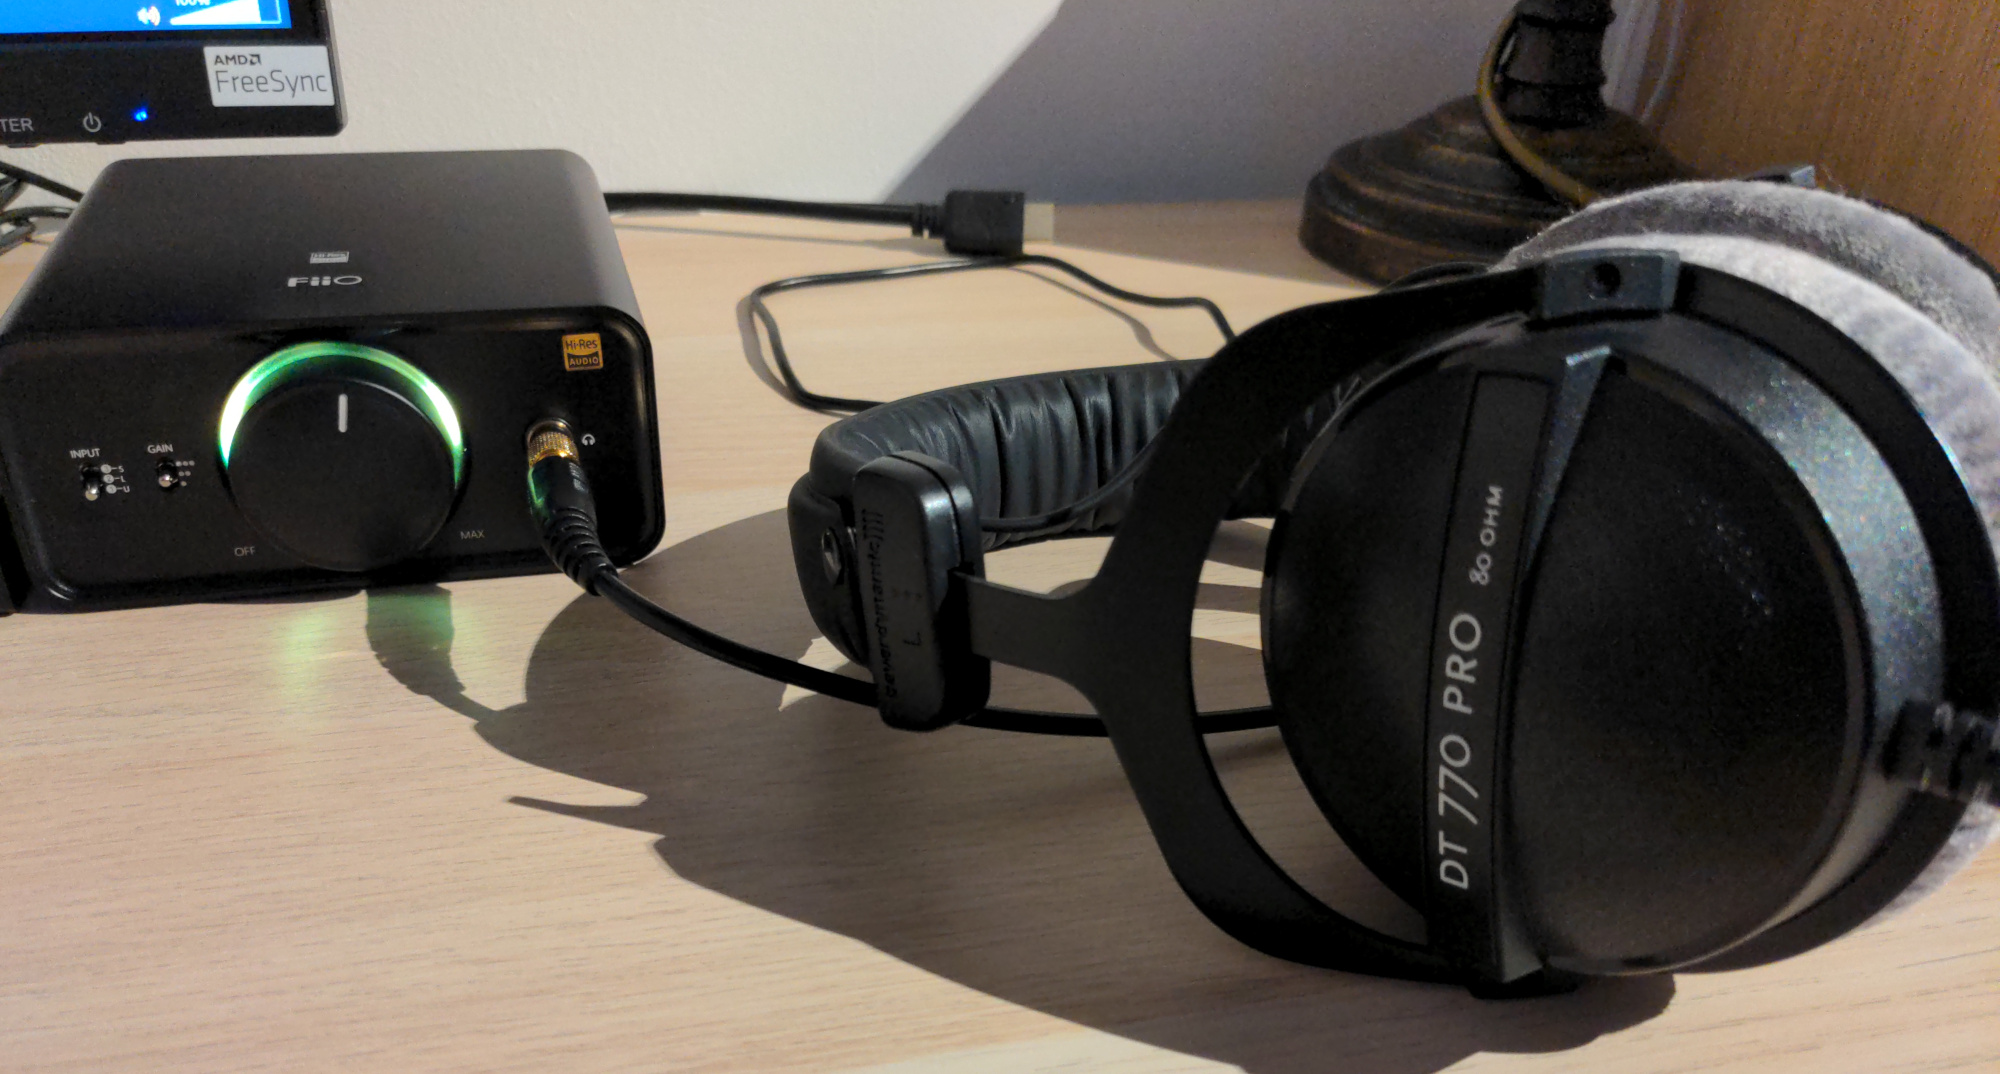
Already a while ago I purchased a “Fiio K5 Pro”. It had some good reviews and wasn’t too expensive. As headphone I’m using a “Beyerdynamic DT 770 Pro (80 Ohm)”. I really like this headphone as it’s quite comfortable and the sound quality is excellent. However, I don’t know if it is “expensive” enough to get the difference between “HiFi” and “HiRes”.
Any modern computer running Debian 12 and having a free USB port will do for this setup. Just plugin your DAC to the free USB port and it should work - at least this is true for the Fiio K5 Pro.
Software
I’m running Debian 12 as operating system. As desktop I’m using Gnome and in this case it means that PipWire is running as audio server. I found this post in Manjaro forums which explains pretty well how to configure PipeWire to get HiRes audio working. I basically followed the instructions given there configuring this for the current user and not system wide.
- copy the basic config files to your user profile:
1
2
$ mkdir -m 700 ~/.config/pipewire
$ cp /usr/share/pipewire/* ~/.config/pipewire
- edit
default.clock.rateanddefault.clock.allowed-ratesin~/.config/pipewire/pipewire.confas follows:1 2 3
## Properties for the DSP configuration. default.clock.rate = 96000 default.clock.allowed-rates = [ 96000 88200 48000 44100 ]
- set
resample.qualityin~/.config/pipewire/client.confand~/.config/pipewire/pipewire-pulse.conf:1 2 3 4 5 6 7
stream.properties = { #node.latency = 1024/48000 #node.autoconnect = true resample.quality = 10 . . } - logout and login (or reboot)
To check if the above worked, you will of course need some HiRes audio files. During playback you can check the sampling rate by:
1
$ grep rate /proc/asound/card2/pcm0p/sub0/hw_params
If you’re not sure which cardX is the right one, take a look at:
1
$ cat /proc/asound/cards
In case of the Fiio K5 Pro the LED ring should light up in yellow if the sound file is encoded with a sampling rate of 96 kHz. I don’t know why, but I had to set it once manually to 96 kHz and from there on it would detect sampling rates automatically. You can change run time parameters by:
1
$ pw-metadata -n settings 0 clock.rate 96000
See also here.
firewalld & UPNP
To play songs on my network via VLC player I had to open some firewall ports first. I’m running firewalld and you can either use the nice GUI or the command line to set it up.
- if not already done, set default zone to “public”:
1
$ sudo firewall-cmd --set-default-zone=public
- as you only want to have the ports opened if you’re connected to your home network, add a new zone (i.e. “home”) and connect it to a source network (replace “192.168.0.0/24” with your actual network of course):
1
2
$ sudo firewall-cmd --permanent --new-zone=home
$ sudo firewall-cmd --zone=home --add-source=192.168.0.0/24
- open the required ports:
1
2
3
4
$ sudo firewall-cmd --zone=home --add-port=8010/tcp
$ sudo firewall-cmd --zone=home --add-port=5353/udp
$ sudo firewall-cmd --zone=home --add-port=137-138/udp
$ sudo firewall-cmd --zone=home --add-port=32768-61000/udp
- I’d also remove everything which is not really required from the “public” zone, then make changes permanent:
1
$ sudo firewall-cmd --runtime-to-permanent
Please keep in mind that each time you’ll connect to a network “192.168.0.0/24” (in this example) the rules will apply - even if it is not you home network! It’s probably wise to change your router’s default network though.
You should now be able to play your network files via VLC (and Chromecast should work as well).
