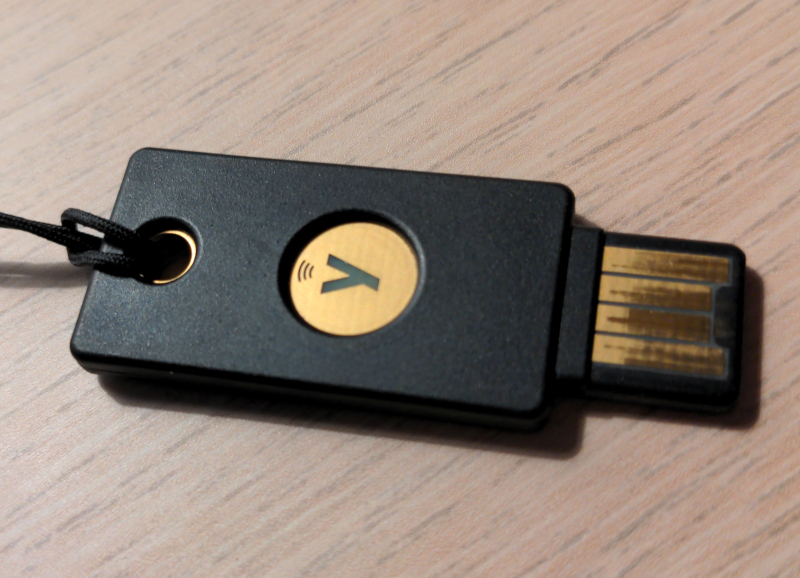
Using a Yubikey to unlock LUKS encrypted disks (with Debian)
In probably most cases encrypting the local filesystem might not really be required. However once you tend to take your notebook with you to all kinds of places - i.e. on vacations - it might be good idea to do that. You’ll gain quite some security. But as always you will trade in some convenience - especially if you take it seriously and use a really long password (which you should!). To avoid typing that really long password (and remembering it) at each boot you can simply add 2FA by using a Yubikey.
Adding a Yubikey as second factor is not really complicated but every time I’ve set this up I had to search for suitable instructions again. So I will just sum up how it works - at least for Debian 10 and 11 - here. I will also link to the original instructions I found.
Setting up encrypted partitions
Probably the most common way to make use of encrypted partitions is using LUKS. You would do that during the initial Linux installation. Of course there are a lot of ways how you could set this up, also depending on your Linux distribution, but one would be like this:
When it comes to choosing the way of creating your disk layout in Debian’s installer, go for custom layout and create a complete new partition table. In my case I do not have an “EFI” partition (very old notebook), but if you require such a partition do not forget it. You will need a dedicated partition for “/boot” (sda1) and then use the remaining space for creating an encrypted partition (sda2):
1
2
sda1 (512MB) => ext4 for /boot
sda2 (max) => dm_crypt device
During the setup you will need to enter a password for the disk encryption: choose a really long and good password here! Once Yubikey is configured you will only need this password as a backup in case you do not have the Yubikey at hand.
I will not go into detail on how to configure LVM2 here. Basically you’ll use the dm_crypt device for LVM2 (it’s probably marked to format as ext4, change that to LVM), create a physical volume from it and add it to a volume group. Now create your logical volumes. I recommend creating one volume for “/”, “/home” and “swap”. So in the end it could look something like this:
1
2
3
4
5
6
7
8
9
10
11
12
13
14
15
16
$ sudo lsblk --fs
NAME FSTYPE FSVER LABEL UUID FSAVAIL FSUSE% MOUNTPOINT
sda
├─sda1
│ ext4 1.0 /boot b39b71b4-12c9-4b55-a209-07fe3c62b4cd 363,8M 15% /boot
└─sda2
crypto 2 0037afa9-811b-4899-93d6-b33c24cb4bd8
└─sda2_crypt
LVM2_m LVM2 4C33z4-UYQI-sL5a-PyXL-CCHI-uATx-hD4n1p
├─myvg-rootlv
│ btrfs / 4037f9ed-f2ce-4016-be2f-52c1c34ca045 44G 9% /
├─myvg-homelv
│ btrfs /home b7a9abad-3396-4b9c-a32e-5f61f705ff71 404,4G 0% /home
└─myvg-swaplv
swap 1 76ab95bb-c01c-4bc3-9288-0b9615cbc80c [SWAP]
sr0
As you can see I’ve chosen btrfs as filesystem for “/” and “/home”. I just did that out of curiosity. Of course you can stick with ext4 here. Now just continue with the installation. Upon first boot you will be asked for the password.
Install packages
Once your system is up and running you will need some additional packages (yubikey-personalization-gui is optional):
1
$ sudo apt install yubikey-personalization yubikey-luks yubikey-personalization-gui
Preparing the Yubikey
I basically followed a guide on Golem.de. First you need to prepare your Yubikey by configuring one of the two key slots for use with challenge response. Make sure you do not use that slot currently for anything else. In this example we use slot “2”:
1
$ ykpersonalize -2 -ochal-resp -ochal-hmac -ohmac-lt64 -oserial-api-visible
Preparing the system
If you followed the example given above your encrypted device probably is /dev/sda2 (or /dev/sda3 if you require an EFI partition). It should hold 7 key slots where probably slot 0 is used with your really long password you’ve chosen during the initial OS installation. You can check via:
1
$ sudo cryptsetup luksDump /dev/sda2
Or you can simply just look for the key slots:
1
2
$ sudo cryptsetup luksDump /dev/sda2 | grep luks2
0: luks2
Now we will add key slot 7 (which should not be in use) by:
1
$ sudo cryptsetup luksAddKey --key-slot 7 /dev/sda2
You will be asked for your initial password here in order to add a key to a slot. You will also need to choose a new password for slot 7. This password is irrelevant as it will be overwritten in the next step anyway.
Let’s check if slot 7 is in use as well now:
1
2
3
$ sudo cryptsetup luksDump /dev/sda2 | grep luks2
0: luks2
7: luks2
Now let’s actually activate the Yubikey for use with slot 7:
1
$ sudo yubikey-luks-enroll -d /dev/sda2 -s 7 -c
This command will clear slot 7 of “/dev/sda2” first and then add the new challenge response password: you will again have to enter your initially selected long password, then choose the password you would like to use with your Yubikey and then again type your long initial password (hopefully for the last time!).
That should have been it. Unfortunately there seems to be a bug (or it’s intended?): if you reboot now you will still have to use your first and long password. It took a while until I came across the solution at askubuntu. It seems /etc/crypttab is not updated. The “keyscript=” option is missing. First make sure the script /usr/share/yubikey-luks/ykluks-keyscript is actually present and then add it’s path to /etc/crypttab like this:
1
2
$ cat /etc/crypttab
sda2_crypt UUID=<SOME_UID_HERE> none luks,keyscript=/usr/share/yubikey-luks/ykluks-keyscript,discard
Next build a new initial ramdisk:
1
$ sudo update-initramfs -u
…and reboot.
You can also customize the welcome message at boot by editing /etc/ykluks.cfg - don’t forget to update initramfs again then.
Insert your Yubikey, type the password you’ve chosen during Yubikey activation (using the yubikey-luks-enroll command), hit “Enter” and touch the Yubikey - your system should boot up now! :-)