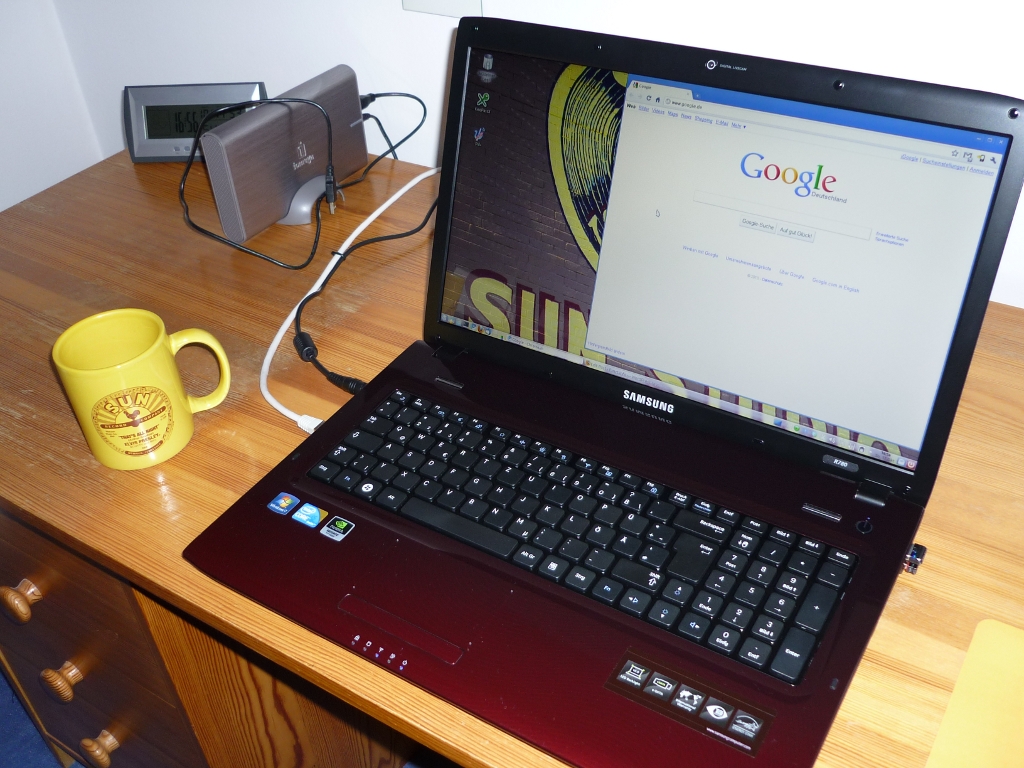
Samsung R780 with Ubuntu 10.10
I wanted to replace my desktop computer by a laptop for quite a while now and as it started to randomly freeze - no matter which OS it ran - I decided the right time has come now. I did some online research and then picked a Samsung R780 Helix (link in German). The bare technical facts:
- Intel Core i5 430M CPU
- 4 GB RAM
- Nvidia GeForce GT M330
- 17,3” display with 1600x900 resolution
- Blueray drive
- 640 GB harddisk
- integrated webcam
- unfortunately no bluetooth
The R780 is available in several flavors which differ in harddisk space and CPU type. Helix comes with an Intel Core i5 430M and a 640GB harddisk. So far I don’t regret my choice. It’s very quiet (no noisy fans), good keyboard and a nice display. Of course it comes preinstalled with Windows 7 (64bit). I didn’t remove Windows but I wanted Linux installed as well. (By the way, the hardware seems pretty compatible with current Linux distributions.) So, this is how I got along…
Prepare device for Linux
The first time the R780 is started - like with any other laptop - the Windows installer is configuring Windows for your needs: select language, timezone, user, etc… Once done and after a few reboots the desktop appears for the first time and you may chose the partition size for your Windows installation on drive C: (that’s a really nice feature!!) and then create a backup of it all. I gave Windows about 200GB and the rest of the harddisk will then be automatically used by drive D:. It takes another reboot and you’re set. So far, so good. First I installed all Windows updates, updated the BIOS and then grabbed a copy of gparted live cd to modify the partition layout. The install process left me with 4 primary partitions: 15GB (hidden) for the backup, a small one for SYSTEM (also hidden), drive C: for Windows and the rest for drive D:. So in my case I had about 400GB for drive D:. In order to create partitions for Linux, I booted the gparted live cd and deleted the large D: drive and took all of it’s disk space to create an extended partition. Within this extended partition I created several logical drives:
1
2
3
4
5
/dev/sda5 as ext3 for /boot (512MB)
/dev/sda6 as ext4 for / (30GB)
/dev/sda7 as ext4 for /home (100GB)
/dev/sda8 as swap (4GB)
/dev/sda9 as ntfs to share between Windows and Linux (all the rest)
Next I booted into Windows again and it might not hurt to run
1
2
 chkdsk /F c:
 chkdsk /F d:
from the command line (run as Administrator!). A reboot is necessary in order to check drive C:.
Installing linux
Now for the fun part: installing Linux.
As Ubuntu’s latest release “Maverick Mercat” was just ready for download I opted for the amd64 KDE version of (K)Ubuntu 10.10. The installation is very painless, no tricks needed!
So, once you’re finished with the usual (K)Ubuntu installation process you should be left with a working desktop. In Kubuntu I had to change the keyboard settings in KDEs systemsettings to “Samsung SDM 4500P” and “105 keys intl” to make my German keyboard work correctly. Display, sound, webcam, WLAN - all worked out of the box though!
As for the display driver: I do recommend staying with the nouveau driver and not switching to the proprietary Nvidia driver which is offered by Ubuntu. It seems to work but causes a lot of errors, listed in /var/log/messages or when running dmesg (see this bug report). Installing the latest official Nvidia driver seems to resolve the issue but causes Google Earth to stop working (“segmentation fault”)… Anyway, if you don’t care about Google Earth, this is how you could proceed:
- make sure you have the following packages installed:
build-essential, pkg-config, xserver-xorg-devand the correct kernel-headers (should be installed by default) - download the Nvidia driver from here and make it executable:
1
chmod +x /path/to/NVIDIA-Linux-x86_64* - black list the nouveau driver by creating
/etc/modprobe.d/blacklist-nouveau.confand adding “blacklist nouveau” to this file (of course without the quotation marks) - reboot (this will leave you with a rather unpleasant display resolution ;-)
- once the login screen appears hit “Ctrl - Alt - F2” for a console and login
- stop the display manager by typing
1
$ sudo stop gdm
or
1
$ sudo stop kdm
- run the Nvidia installer:
1
$ sudo /path/to/NVIDIA-Linux-x86_64*`
- say yes to install the 32 bit compatibility libraries
- let the installer modify xorg.conf (only needed the first time)
- once the installer finishes, reboot
Remember to reinstall the driver after kernel updates!
You might want to add
1
Option         "NoLogo" "True"
to the the “Device” section of /etc/X11/xorg.conf to avoid displaying the Nvidia logo at startup. Also, to make the boot splash a little prettier with the Nvidia drivers you may add
1
2
GRUB_GFXMODE=1280x800x32
GRUB_GFXPAYLOAD_LINUX=keep
to /etc/default/grub and then run
1
$ sudo update-grub
to activate the new setting.
To get rid of the “Windows Vista” entry in grub (which is the backup partition and I don’t think you want to boot it) you can simply create a new file in /etc/grub.d (i.e. call it 31_win7) and add a static entry for your Windows 7 partition. First, have a look at your current /boot/grub/grub.cfg, find the menuentry for Windows 7, copy it to the new file and add the rest from this example:
1
2
3
4
5
6
7
8
9
10
11
#!/bin/sh -e
echo "Adding entry for 'Windows 7 (sda2)'"  >&2
cat << EOF
menuentry "Windows 7 (loader) (on /dev/sda2)" {
insmod part_msdos
insmod ntfs
set root='(hd0,msdos2)'
search --no-floppy --fs-uuid --set b43a66703a663012
chainloader +1
}
EOF
Now make the file executable by
1
$ sudo chmod +x /etc/grub/31_win7
and remove the execution bit from 30_os-prober:
1
$ sudo chmod -x /etc/grub/30_os-prober
and finally run
1
$ sudo update-grub
Now a static entry for Windows 7 is added to grub each time the kernel is updated, but no new OSs will be detected anymore! (By the way, you can disable the memtest entry in the same way by removing the execution bit from /etc/grub.d/20_memtest86+)
This were about all the modifications I’ve made. Again, until now no complaints, everything’s working well! :-)